How to install Awe & Bloom’s slatwall panels with ease
Transforming your space with Awe & Bloom's slatwall panels is a straightforward, fun process. Follow this simple guide for a seamless installation experience!
Tools You'll Need:
- Tape measure
- Pencil
- Electric jigsaw or Fine tooth hand saw
- Spirit level
- No more nails adhesive
Step One: Preparation for installation
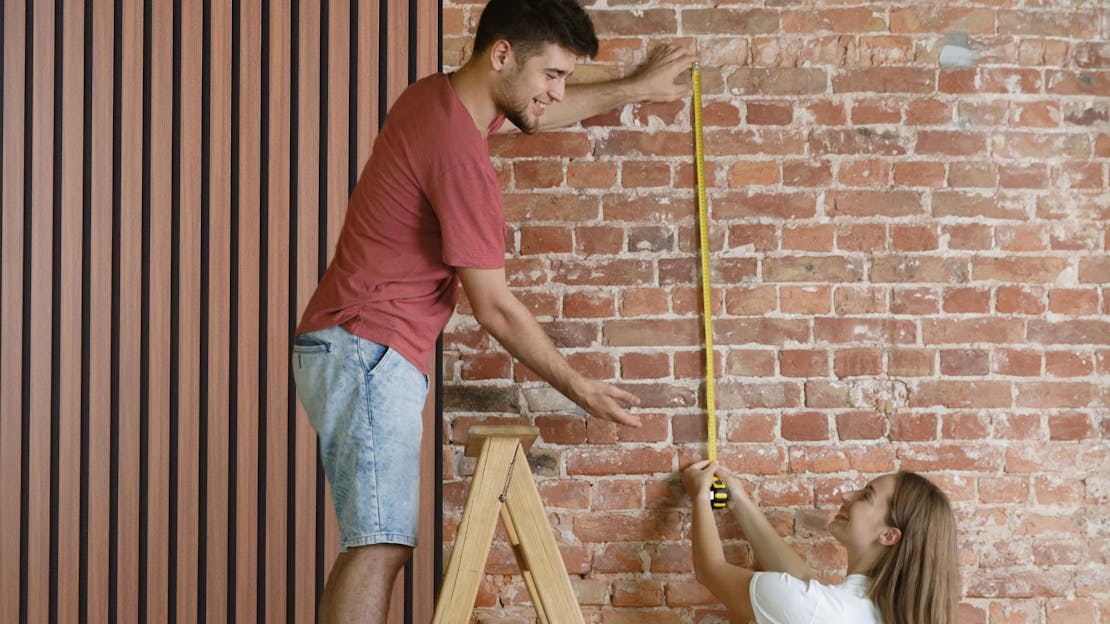
Before you begin, measure your wall to determine how many 2.4m x 0.57m panels you'll need. Use our helpful Wall Panel Calculator for accuracy. It is worth at this point deciding which direction you intend to install your slatwall panels. Our slat wall panels can be installed vertically, horizontally, or diagonally to suit your interior design vision. Decide your orientation before cutting any panels.
Once you have ordered and received your panels now is the time to make sure your wall is straight, smooth, dry, and dust-free.
Preparation Tips:
- Clean the wall and check for levelness with a spirit level.
- Remove socket covers or fixtures that may interfere with installation.
- Mark out any holes needed for lighting or fixtures.
Step Two: Cutting your slat wall panels
Check your measurements for where you would like to install the first panel. Mark the back of the panel to your desired measurements. Use a fine-tooth hand saw or jigsaw for clean, precise cuts. It is worth making sure that you have new cutting blades to ensure a clean cut.
Important Note: Always cut with the decorative wood-finished side facing down to avoid chipping the surface.
Step Three: Applying adhesive and Placement
For a strong bond, use a high-quality instant grab adhesive like Pink Grip or No More Nails (both can be bought from B&Q or local hardware stores). Apply the adhesive to the back of the panel in straight lines, spacing strips around 5cm apart.
Adhesive Tips:
- Cut only the tip of the adhesive tube to avoid overflow.
- This ensures a neat, secure application for each panel.
- Use a solvent free adhesive or wear a protective mask.
Start installing from left to right or bottom to top, depending on your chosen orientation. After applying adhesive, press the panel firmly to the wall.
Pro Tips:
- Use a spirit level to check the alignment of each panel as you install.
- Ensure no gaps between panels for a flush, professional finish.
Step Four: Installing around sockets
For sockets or fixtures, measure and mark the back of the panel before cutting the required shape with a jigsaw. It is always best to start with a smaller cut and remeasure as you go to increase the hole size.
Socket Assembly Tips:
- Install a spacer ring on existing electrical boxes to safely accommodate the panel's depth.
- Secure the socket to the panel and wall for stability.
Extra Info: Hanging and securing items
After installation, wait 24 hours for the adhesive to fully cure before hanging any items on the slatwall, such as small pictures.
For heavier items like TVs or shelves:
- Pre-drill holes into the slats for fasteners.
- Screw into the wall behind the panel for added support, ensuring the load is on the structural wall and not the panel alone. The panels are not designed to take the weight of additional items which is why the fixings must go through into the wall behind.
Once installed, your Awe & Bloom slatwall panels will elevate any room with their timeless wood-laminate finish and sophisticated colouring. Enjoy the transformation!