How to install our artificial hedge tiles
At Awe & Bloom, we’re here to make transforming your space as effortless as possible. That’s why we’ve created this step-by-step guide to help you with any questions you may have about installing the artificial green wall panels on a variety of surfaces. If you have any further questions give get in touch for more advice.

Wooden Fence
Firstly attach galvanised mesh to the fence using U-shaped nails. Next connect the artificial hedge tiles together with the male/female connectors that are on the edges of each tile. You can then attach to the hedge tiles to the galvanised mesh using green cable ties.
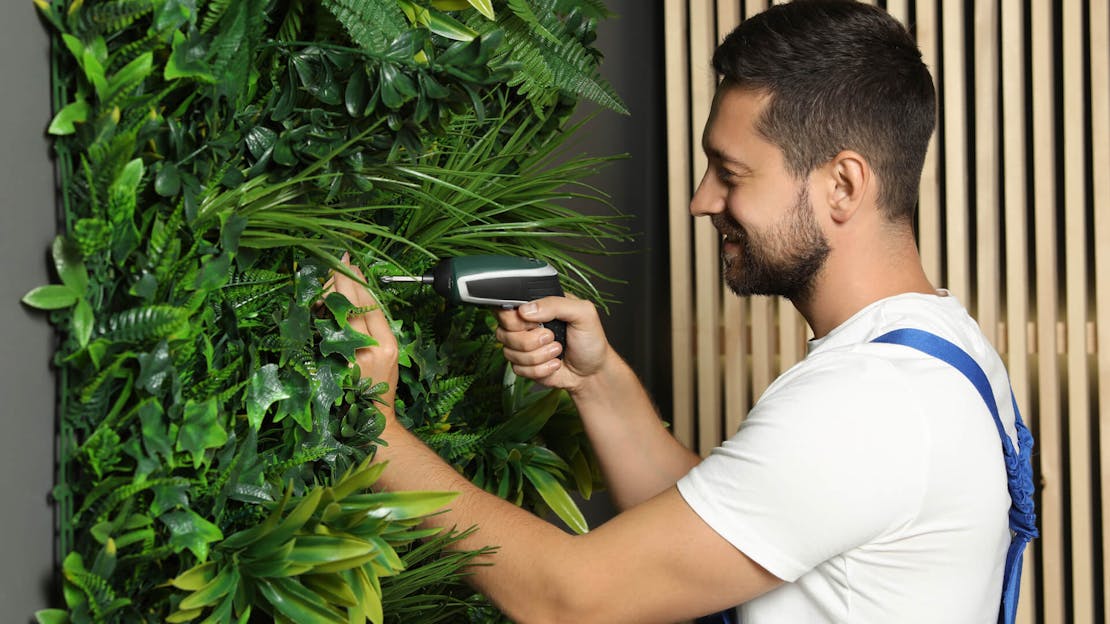
Internal Wall
When installing inside onto a plasterboard wall you can use a staple gun to attach the hedge tiles straight onto the wall. Ensure the staple gun is placed over the plastic tile backing, not trapping the foliage when staple gunning them to the wall.
Metal Railings
This can be done by using cable ties to secure the tiles to the railings. To create a dense look you could secure a black weed membrane to the railings first. This would ensure no one could see through the foliage - if being used to create a privacy screen.
Brick Wall
Lorem ipsum dolor sit amet, consectetur adipiscing elit, sed do eiusmod tempor incididunt ut labore et dolore magna aliqua.

Step 1
Attach wooden batons to the wall using a drill and masonry screws. In order to create a basic wooden framework.

Step 2
Secure galvanised mesh to the wooden batons using U-shaped nails and a hammer. This will allow for an air gap between the wall and tiles.

Step 3
Connect your artificial hedge tiles together, using the male/female connectors on all four sides.

Step 4
Secure the hedge tiles to the galvanised mesh using green cable ties, the more the better. Once complete ruffle the foliage to blend tiles together.
Required tools
Sissors
Secateurs
U-shaped nails
Cable ties
Hammer
Drill
Staple gun
Useful Facts

50cm x 50cm square tiles (unless otherwise stated) easily clipped together with male and female rivets creating a sturdy and striking artificial hedge wall. 4 tiles makes 1m2.

The artificial hedge tiles are sturdy, durable and are built on a plastic mesh making them incredibly easy to install.

They are low-maintenance.

They are weather-proof, frost-proof, UV stable and have a beautiful dense coverage. The ideal product for making artificial privacy screening in your garden.

Suitable for Indoors & Outdoors.

5-8 year lifespan.